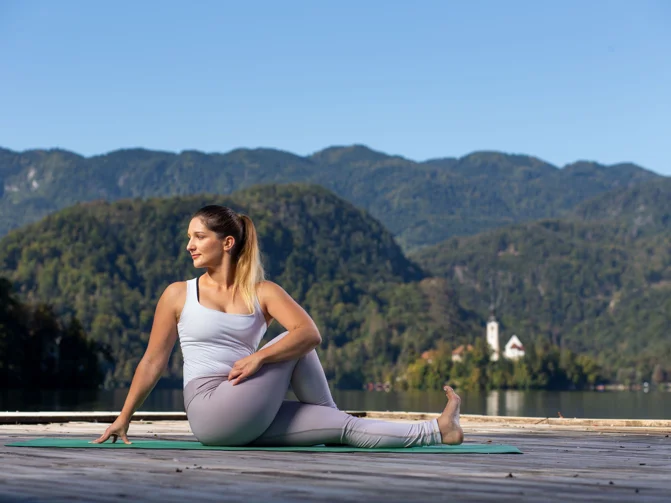
Surya Namaskara, or Sun Salutation, is a sequence of poses that warm up the body, strengthen it, and increase its flexibility. Every movement or transition from one pose to another is harmonised with your breathing, inhaling or exhaling, which is always done only through the nose. There are several versions of this exercise, and we present the basic version of this classical sequence. The Sun Salutation can be used as a warm up exercise or as an independent exercise when you do not have a lot of time but still want to do something for yourself. Just a few repetitions of this sequence make a huge difference to how you feel. It is carried out at a faster pace for warming up and for cardio, and at a slower pace for increasing endurance and muscle strength.
Sun Salutation – Surya Namaskara
How to do Sun Salutation
Each round of Sun Salutation consists of two sets of the entire sequence – once on the right and once on the left. At the beginning, you can repeat only one or two rounds, and later gradually increase that in terms of your wishes and needs.
Step 1
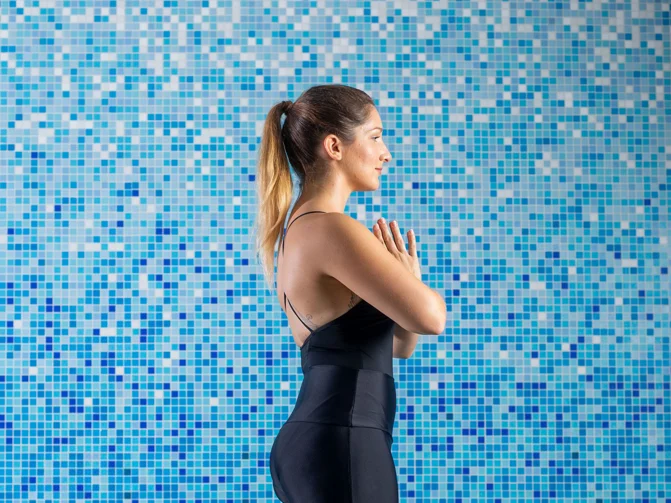
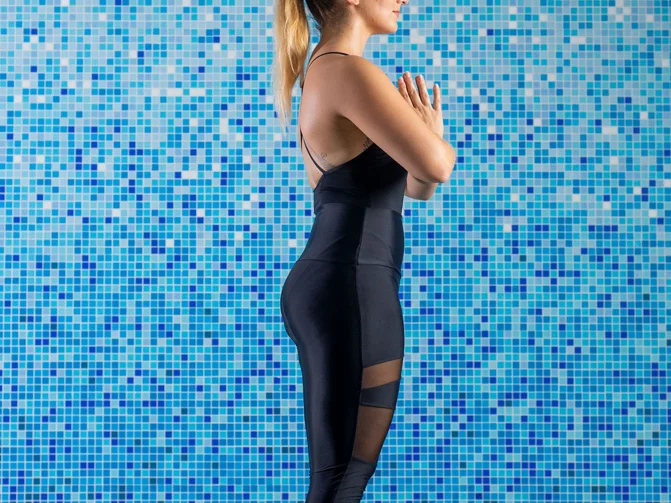
Start. Stand at the edge of your mat, feet together or hip-width apart. Place your palms together in front of your heart. Breathe deeply through the nose.
Step 2
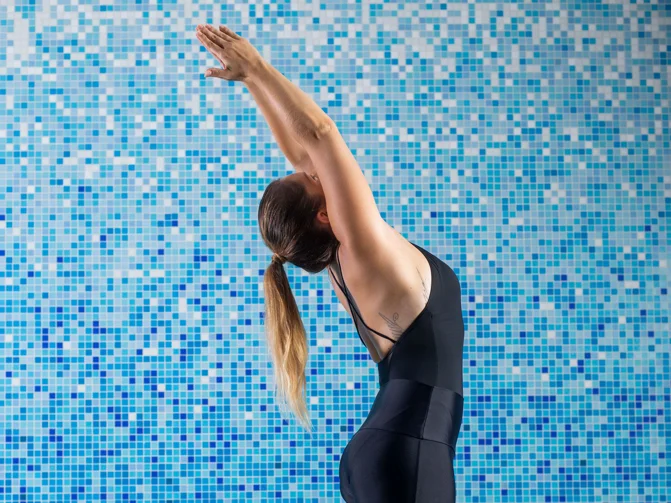
BREATHE IN. Raise your arms above your head, push the pelvis forward, lean back and open your chest.
Step 3
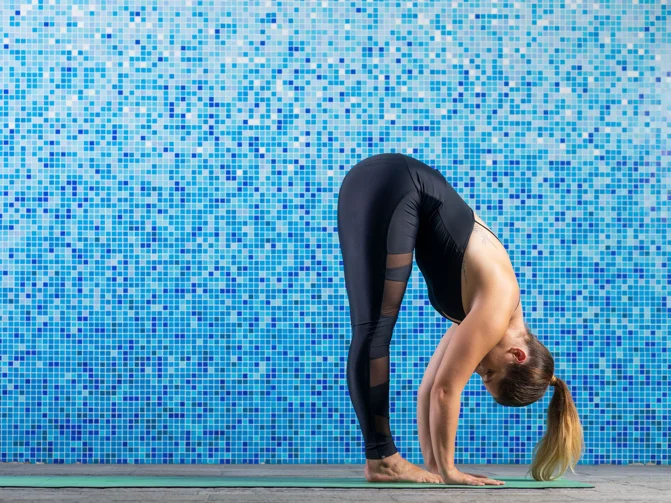
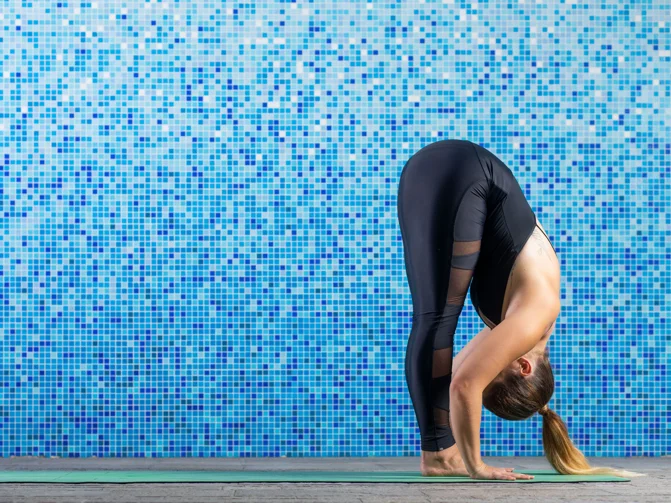
BREATHE OUT. Bend forward from the waist. You may bend the knees, if necessary, to put the palms next to the feet (or on your shins).
Step 4
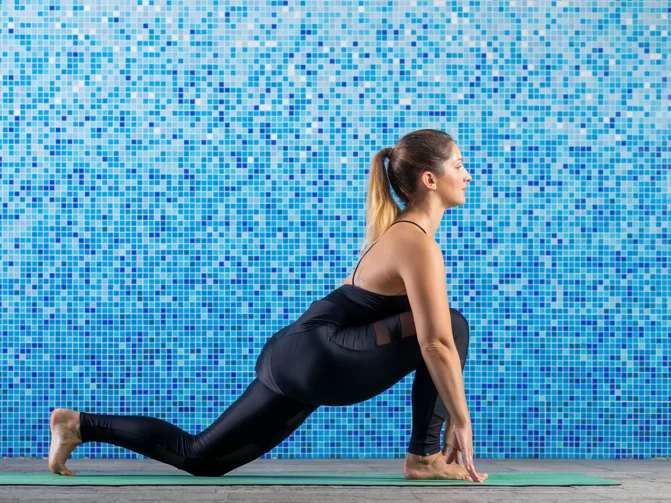
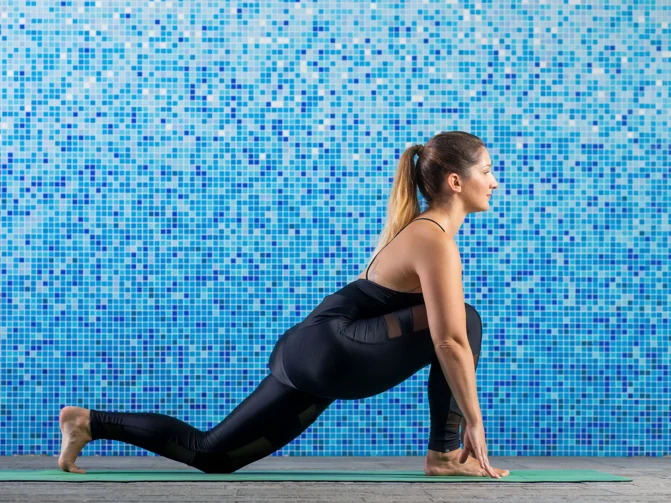
BREATHE IN. Push your right leg back into a lunge raise yourself onto your tiptoes, lengthen your spine slightly forwards and upwards.
Step 5
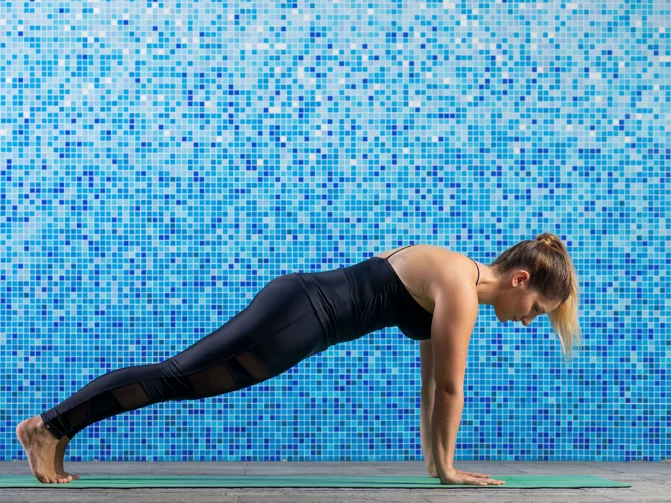
HOLD YOUR BREATH. Take the left leg back into a plank, feet hip-width apart, shoulders above your wrists. The back is flat and long. Draw your navel inwards towards your spine.
Step 6
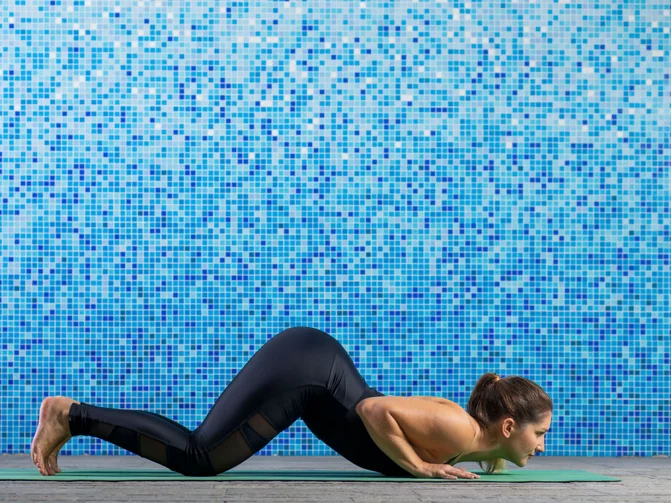
BREATHE OUT. Bring your knees down, rest your chest and chin on the mat and leave the hips elevated. Keep your elbows close to your body.
Step 7
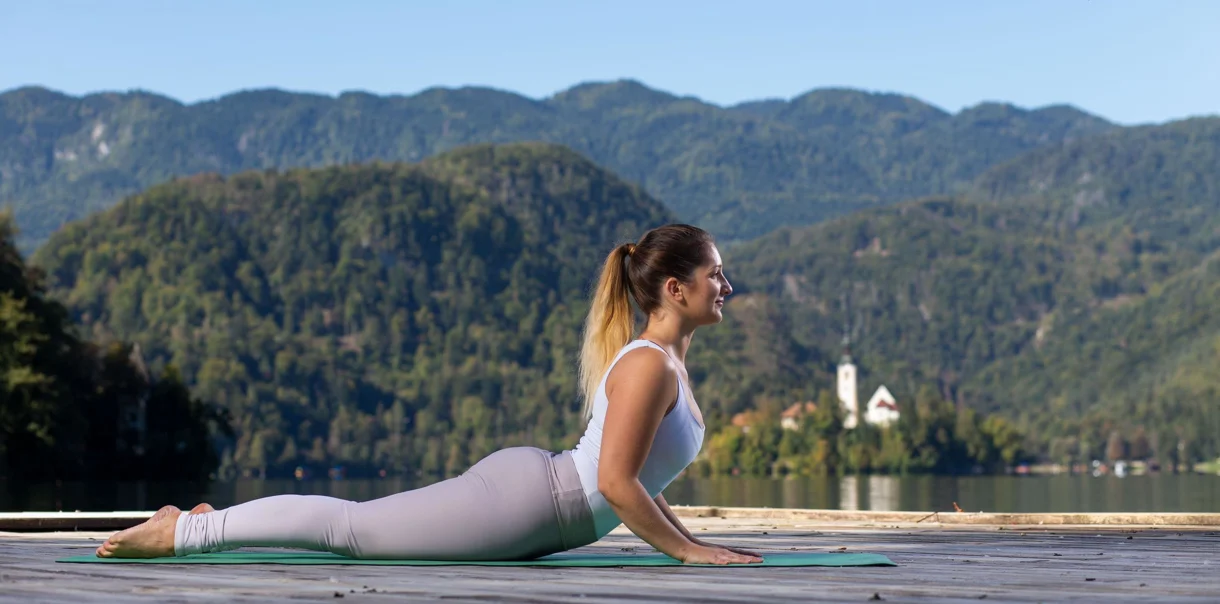
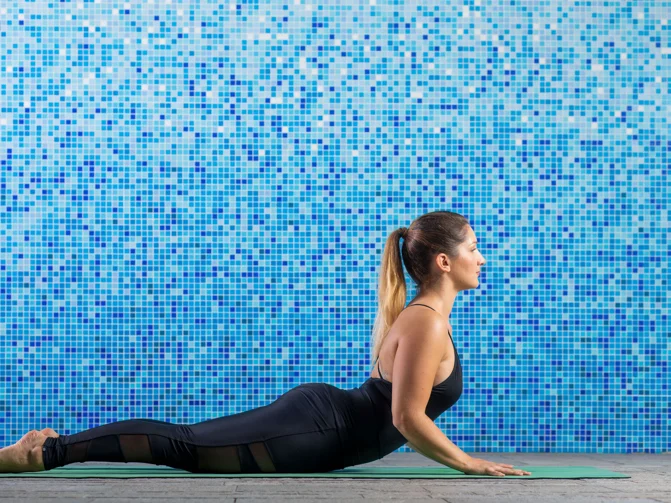
BREATHE IN. Push yourself forward with your hands, pelvis down, legs stretched. Raise yourself up into the Cobra position. Keep your elbows next to your body, shoulders away from the ears, the pubic bone on the floor.
Step 8
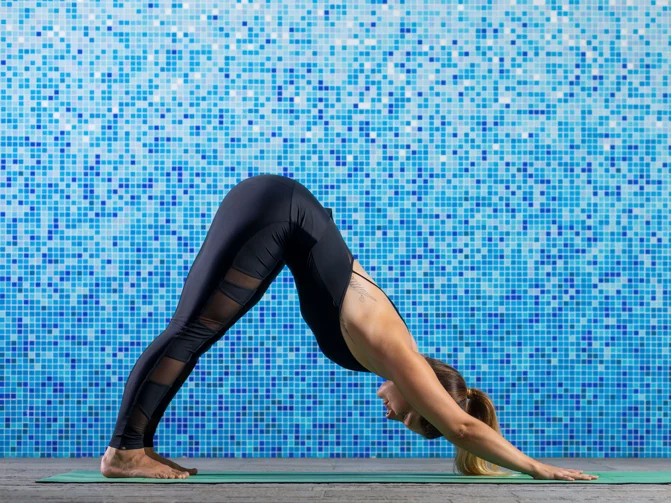
BREATHE OUT. Lift the hips and push yourself backwards with your hands into an inverted V. The back is straight, the knees bent, if necessary, and the heels push downwards.
Step 9
BREATHE IN. Bring the right foot forward into a lounge, lengthen your back.
Step 10
BREATHE OUT. Bring the left foot forward, between your palms, bending forward. Bend the knees, if necessary. Keep your feet together or hip-width apart.
Step 11
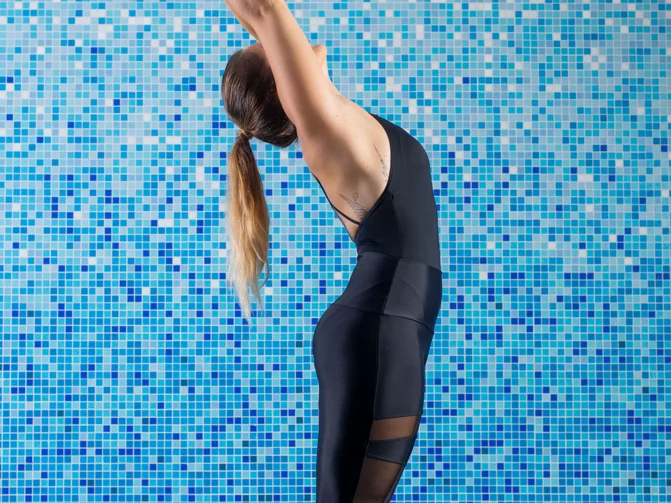
BREATHE IN. Roll the spine up. Raise your hands above your head and bend backwards, pushing the pelvis forward.
Step 12
BREATHE OUT. Place your palms together in front of your heart. Continue with number 1 or number.
Exercises for the balance of the body and mind
Next is a sequence of nine yoga asanas, which covers all types of exercises: poses for strengthening and endurance, stretching, openings and twists. You can do them independently or do Sun Salutations beforehand in order to warm up, as described above. All the exercises are harmonised with long and deep breaths, which round off the exercise, bringing balance of the body and mind. Before you start, sit down for a few minutes, taking a comfortable position that allows you to keep your back straight and upright. Close your eyes and focus on your breathing. First, observe your breathing and then consciously deepen and prolong it. Breathe through the nose. After a few minutes, open your eyes and start with the sequence. Do the same at the end when you finish with the exercise.
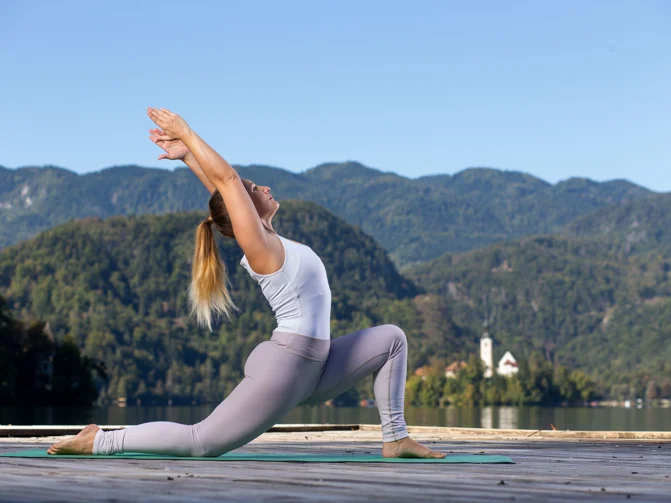
Doing exercises for the balance of the body and mind
1. Cat-Cow
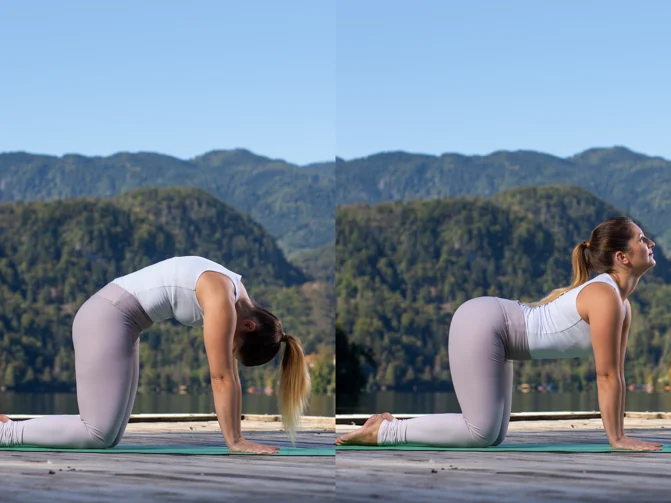
Cat-Cow is a gentle flow between two poses, the Cat and the Cow, which warms the body and brings flexibility to the spine. Start on your hands and knees. Position your wrists directly under your shoulders, and your knees directly under your hips. As you exhale, round your back towards the ceiling, draw your navel to the spine, and push your chin to your chest. As you inhale, start dropping your belly towards the mat, and lifting the chest and tailbone upwards. Repeat for as long as it suits you, from 5 to 10 times.
2. Downward Facing Dog – Adho Mukha Svanasana
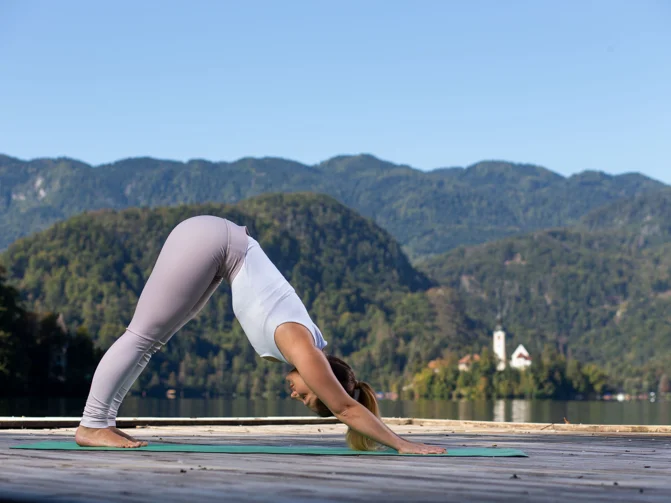
Continue from the previous pose on your hands and knees. Curl your toes, push your hands into the mat, and bring your pelvis upwards. Distribute your weight across your hands and keep the back flat, lengthening the spine upwards. Push the sitting bones towards the ceiling. The knees are slightly bent. Keep them straight only if you can keep your back straight. Draw the navel towards the spine. Engage your abdominal muscles. Keep the neck and head relaxed. Push the heels towards the floor. Push the shoulders away from the ears and the shoulder blades apart, away from the spine. Keep the position for 1–3 minutes, maintaining long and deep breaths.
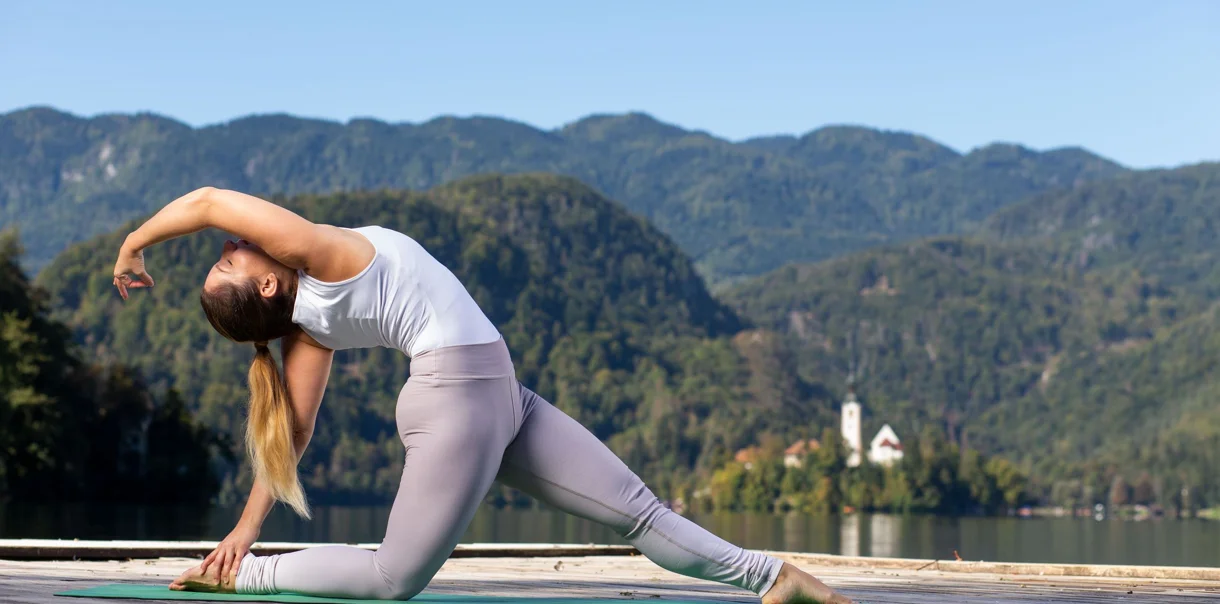
3. Low Lounge – Anjaneyasana
From Downward-Facing Dog, step with your right foot forward between your hands, aligning the ankle below the knee. Put your back knee and instep to the floor. Slide the left leg back until you feel a comfortable stretch in the thigh and groin. Inhale, and lift your torso and arms to an upright position. Draw the tailbone down towards the floor. Draw the navel towards the spine and open up through your chest, lengthening upwards. Keep the position for a minute or two, and control your inhales and exhales. Position your hands on the floor. Step back to Downward-Facing Dog and repeat with the left leg.
4. Warrior 2 – Virabhadrasana 2
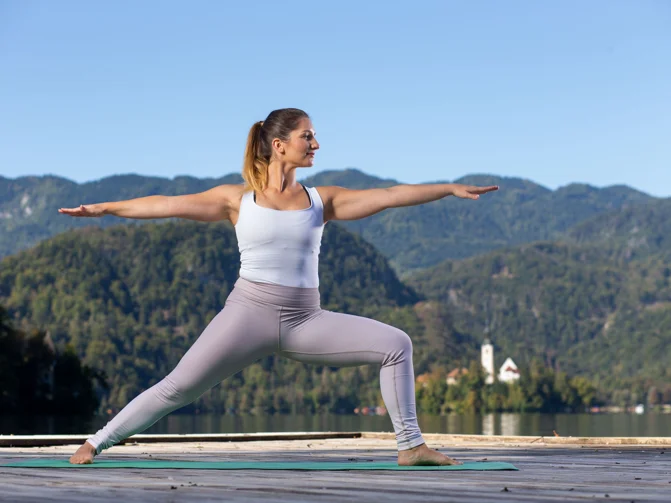
Stand on the mat at least 1 metre or more apart. Point your front foot forwards and turn your back foot 90 degrees outwards. Bend the front leg slightly, making sure the knee is straight over your ankle – not beyond it or overshooting it. Keep the back leg straight. The lower you go, the greater the distance between your legs. Distribute your weight evenly between both legs. Lift both arms sideways. The front arm is actively lengthening forwards and the back arm backwards. Bring your shoulders down, away from the ears. Draw the abdominal muscles inwards, keeping the back straight. Look forward in the direction of your front hand. Keep your breaths deep and long. Hold the pose from 30 seconds to one minute. Repeat on the other side.
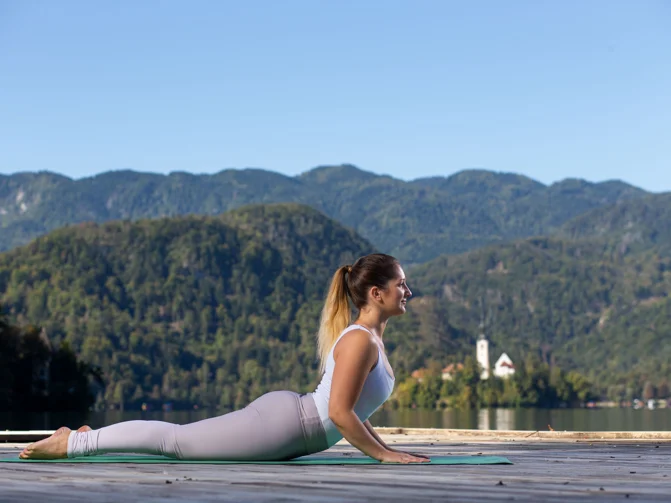
5. Cobra – Bhujangasana
Lie on your stomach. Extend the legs, keeping the insteps on the floor. Position your hands below your shoulders, keeping the elbows close to your body. Inhale, and use the back muscles and hands to push upwards, while the legs actively push downwards. Rise upwards just enough to keep the pubic bone on the floor. Keep your elbows close to your body, bring your shoulders down, away from the ears, and lift upwards with your chest. Make sure you don’t put pressure on your lower back. Bend equally along the whole length of the spine. Hold the pose from 20 seconds to one minute. Exhaling, return back to the mat.
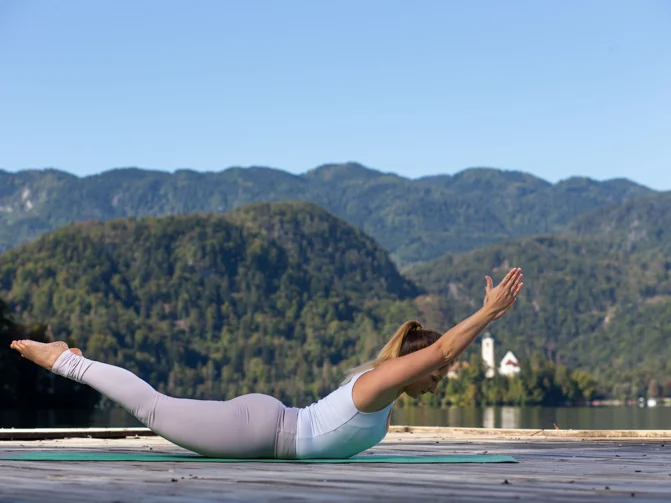
6. Locust – Salabhasana
Lie on your stomach, arms stretched out in front of you, forehead on the mat. Breathing in, raise the head, torso, arms and legs. At the same time, lengthen the legs backwards and the torso and arms forwards. In this pose, you do not only lift up, but also lengthen in both directions. The neck and the head are an extension of the spine. Keep the pose from 30 seconds to one minute. If you wish, you can repeat the pose once or twice a day. *The photo shows the version of the pose with the arms stretched forward, but you can also do the pose with your arms along your body.
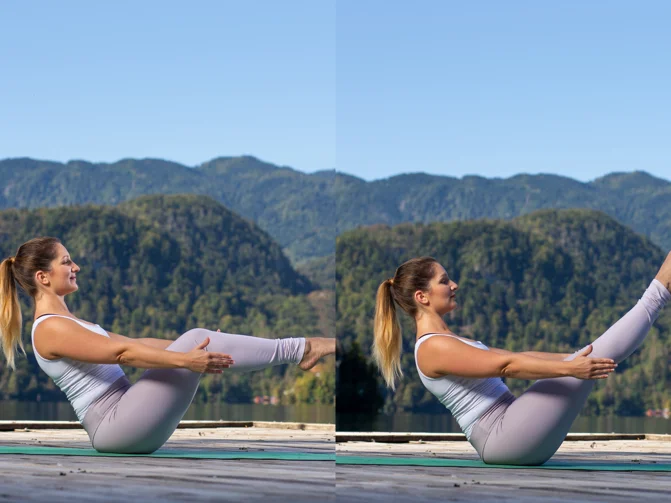
7. Boat Pose – Navasana 7 8
Sit on the mat with your knees bent. Lean your upper body backwards and slowly lift your legs. Straighten your back and draw the navel towards the spine. Find the right angle between your legs and torso. Extend your arms alongside the body. The legs can stay bent, or you can straighten them. Maintain long and deep inhales and exhales. At the beginning, keep the pose for 10 or 20 seconds. Gradually extend the time or do more repetitions with shorter times of keeping the pose.
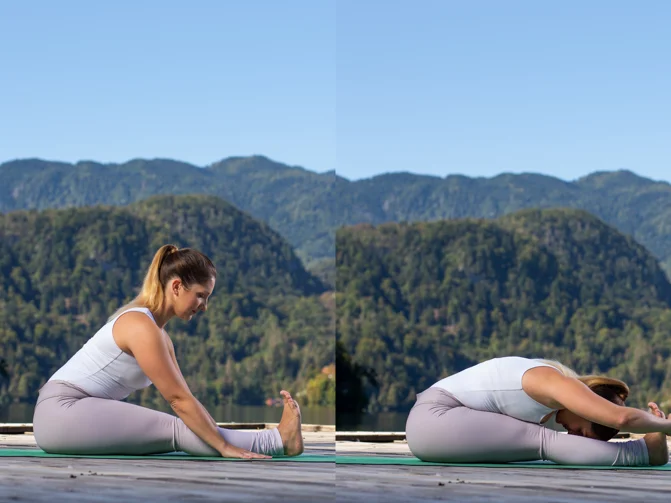
8. Seated Forward Bend – Paschimottanasana
Sit on the floor with your legs straight out in front of your body. Sit on a folded blanket or something similar, which makes it easier to do the pose, as the pelvis is slightly higher than your feet. Activate (tighten) your thigh muscles and pull your toes towards you. Push your hands or fingers, which are next to your hips, into the floor and lengthen yourself upwards through the chest, keeping the back straight. Breathe in. As you breathe out, begin to come forward in your hips (not your waist), keeping the back straight and long, moving the arms forward. If you can keep your back straight, slowly bend forward. Keep lengthening yourself through your spine all the time and, if you can reach them, hold the sides of your feet. Keep the pose for one to three minutes. The legs and feet remain active at all times. Lift from the pose, keeping your back straight.
9. Seated Twist Pose – Ardha Matsyendrasana
Sit on the floor with your legs straight out in front of you. Sit on a folded blanket, which makes it easier to do the pose, as the pelvis is slightly higher than your feet. Bend your right leg over the left one, bringing the sole on its outer side. The left (extended) leg remains tense. Pull your toes towards you (dorsal flexion). Place your right hand behind your back. Raise your left hand towards the ceiling. Breathe in and lengthen yourself upwards through your spine. As you breathe out, turn to the right and to the left, and put your hand or your whole arm on the outer side of the bent leg. Lengthening through your chest upwards on each inhale, twist a little more with each exhale. Keep the pose for one minute, then slowly twist and repeat on the other side.